Getting started — the step-by-step plan from new account to first booking
Updated on 2026-10-01
Daily → Getting started
You don't set up a new account in one go. The Getting started plan tells you the best order to work in: first your rooms and rates, then how guests see you, then the money side, and only after that the booking channels. Each step builds on the previous one. That way you already have something that works after the first phase, and you don't get stuck on a difficult step while the basics are still missing.
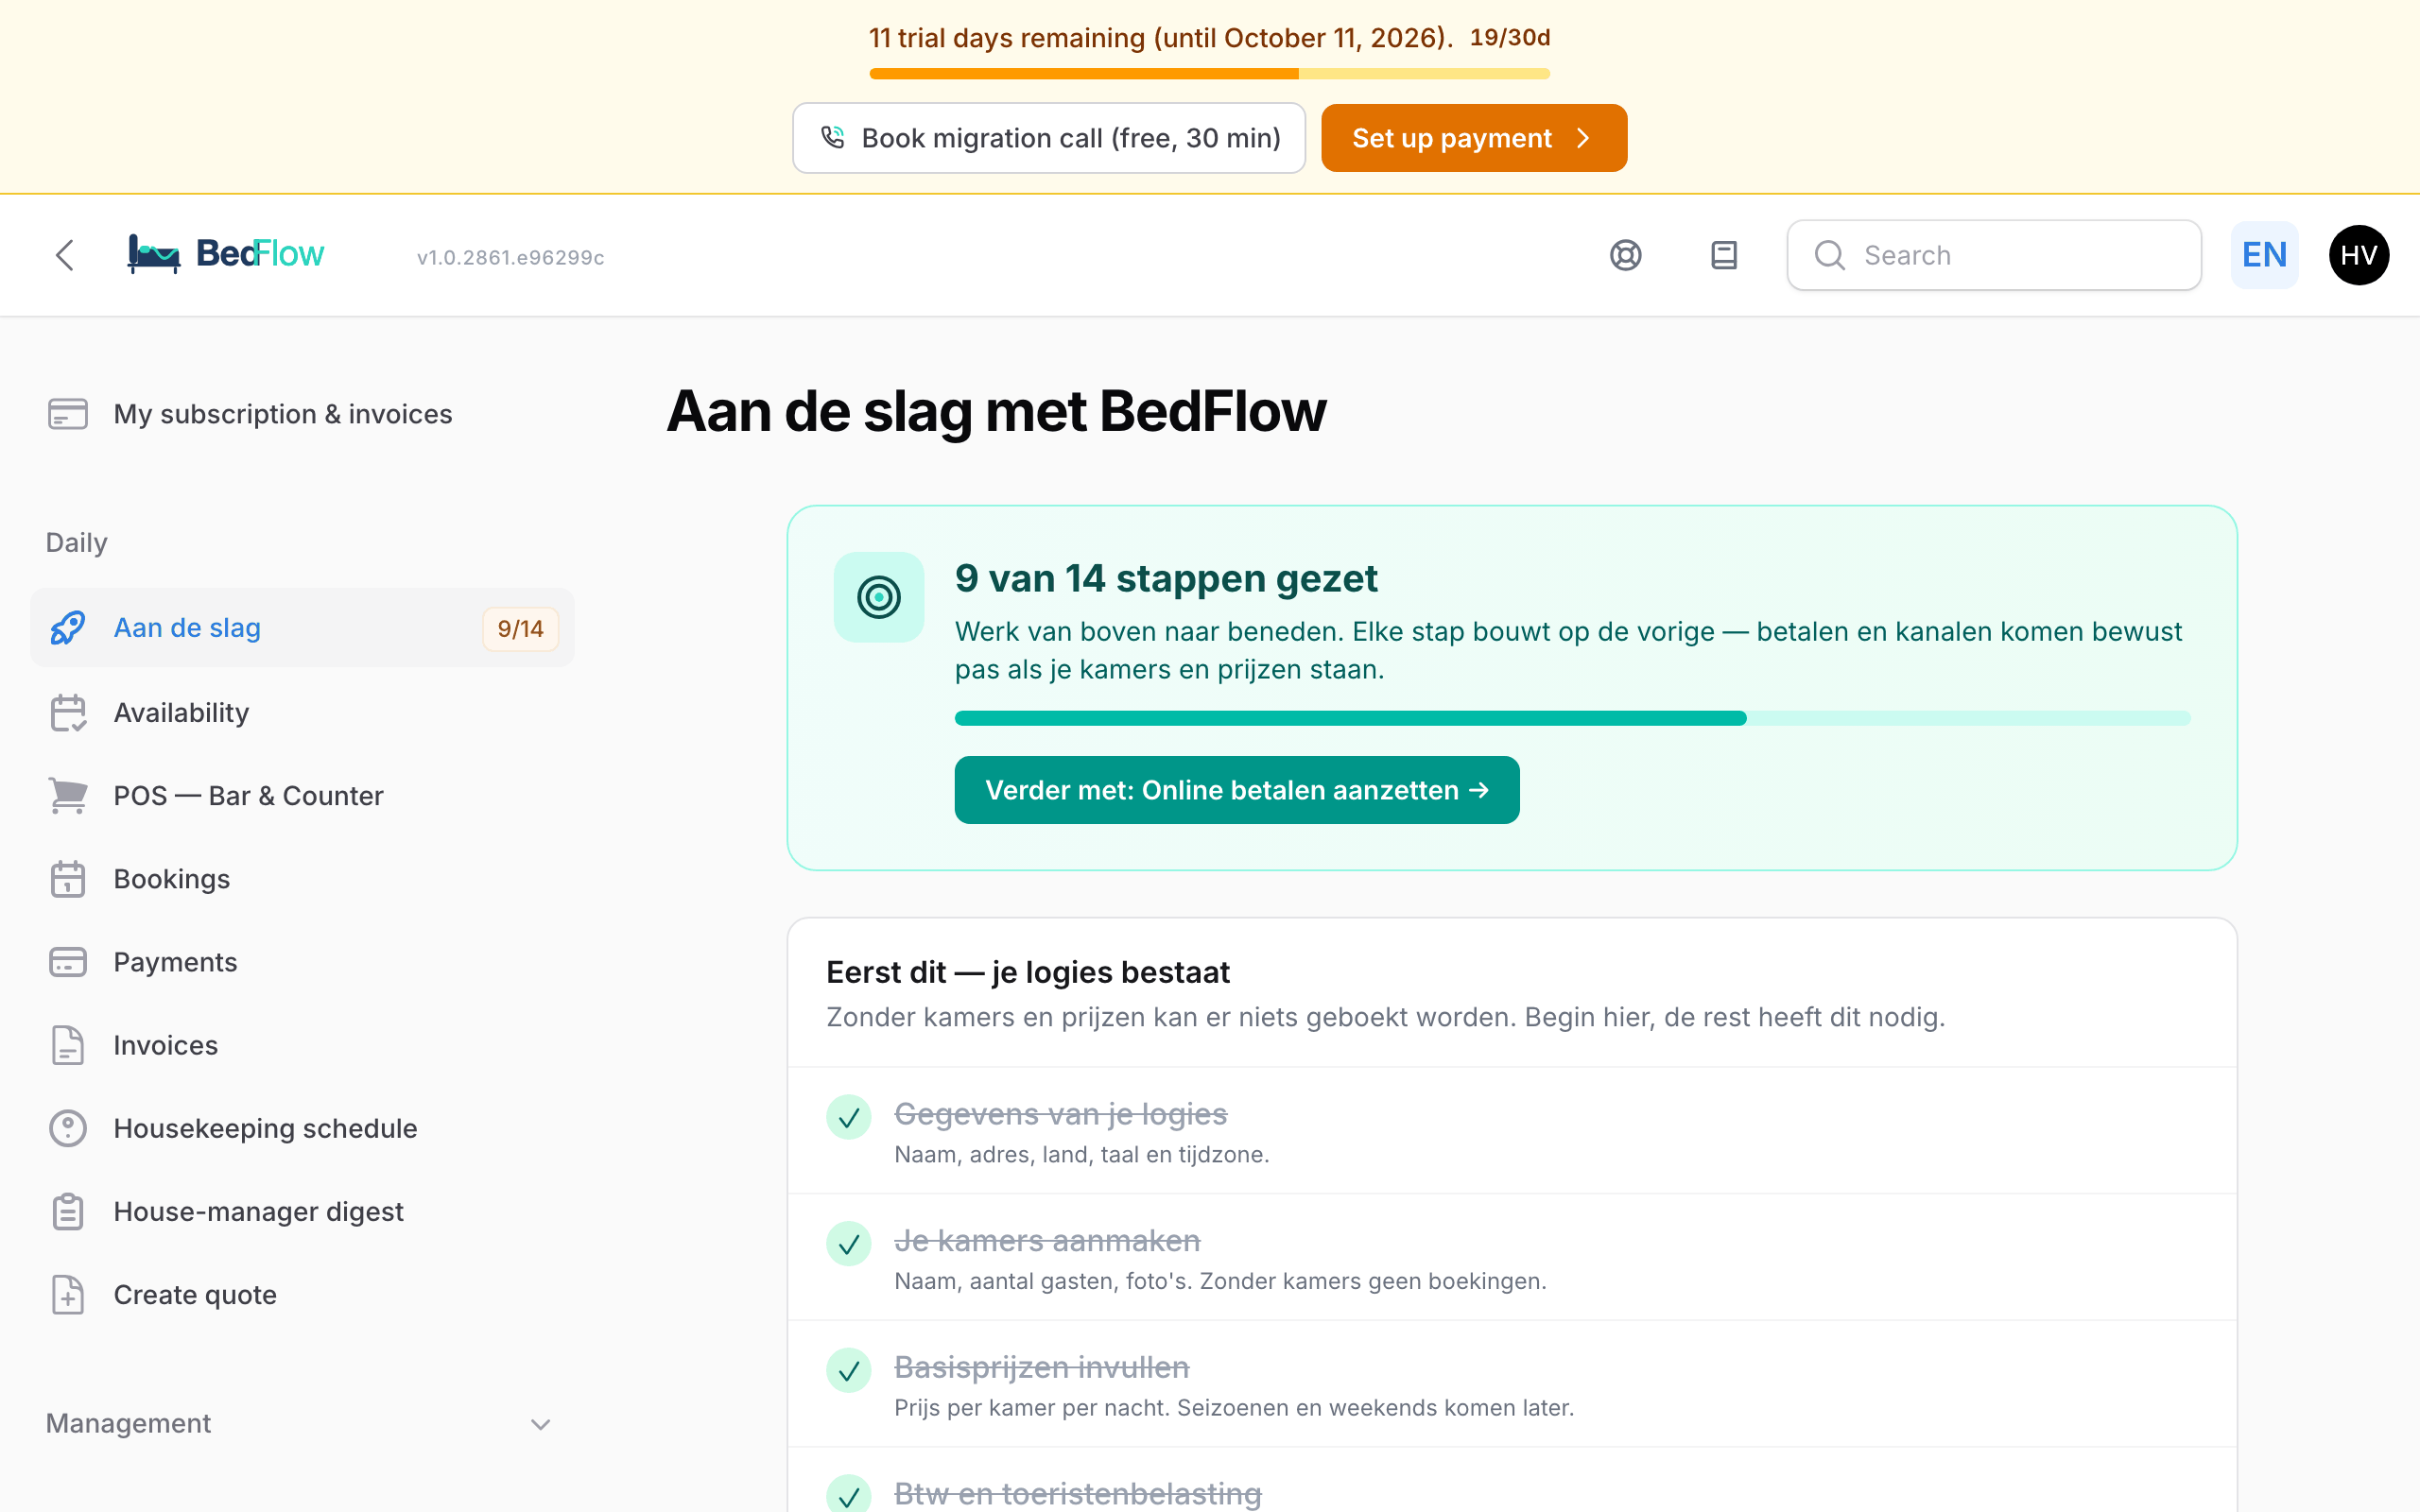
Where do you find it?
- In the sidebar under Daily → Getting started. Your progress is shown next to the menu item, e.g. 5/14.
- At the top of the plan you see how many steps you've completed, a progress bar and a Continue with: … button that takes you to the next step.
- Every step is clickable and opens the screen where you complete it. The step that's up next carries the label do this now.
The menu item stays until all the required steps are done. After that it disappears by itself.
You don't tick anything off yourself
BedFlow looks at your data. Once you've created a room, that step turns green. If a colleague fills something in, or it comes in through an import, that counts too. So there's nothing to tick off. If a step is still open while you think it's done, open it: usually there's just one field missing.
The four phases
1. First this — your accommodation exists
Without rooms and rates, nothing can be booked. Start here.
| Step | What do you do? | Where? |
|---|---|---|
| Your accommodation details | Fill in name, address, city and country | Settings → My property |
| Create your rooms | At least one room, with a name and number of guests | Settings → Room types |
| Enter base prices | A price per room per night | Management → Rates |
| VAT and tourist tax | Create a tax set, e.g. with Create Belgian default set | Settings → Taxes |
2. Only then — how guests see you
Your booking page and your emails carry these details.
| Step | What do you do? | Where? |
|---|---|---|
| Contact details | Phone and email, so guests can reach you | Settings → My property, section Location & contact |
| Upload your logo | Your logo, for your website, invoices and emails | Settings → My property, section Branding |
| Upload a hero photo | The large photo at the top of your public page | Management → Website → My website, section Photos |
3. After that — receiving money
Only makes sense once there's something to pay. Allow half an hour for Stripe: Stripe asks for an identity check.
| Step | What do you do? | Where? |
|---|---|---|
| Review the deposit | Decide what a guest pays when booking (30% by default, up to 100% in advance) and save | Settings → Deposit |
| Switch on online payment | At least one of Stripe, Mollie or Bancontact, or bank transfer with your IBAN | Settings → Integrations, category Payments |
| Make a real test payment (optional) | Book yourself one night via your own booking page and pay online | Your booking page |
| Fill in the terms links | Links to your terms and conditions and your cancellation policy | Settings → My property, section Legal links |
The Review the deposit step only turns green once you've saved that page at least once, even if you keep the default. That way you know for sure you've seen it.
The test payment only counts if it really came in online. A payment you register yourself doesn't prove that your payment provider works. If you always settle on site, skip this step: it's optional.
4. Finally — more bookings
Order matters: first bring in your existing reservations, and only then switch over a channel.
| Step | What do you do? | Where? |
|---|---|---|
| Seasonal and weekend rates (optional) | Surcharges and discounts per period | Management → Rates, Rate profiles |
| Transfer existing reservations (optional) | Pull your current bookings out of your previous system | Management → Import |
| Request Booking.com or Airbnb | Choose a channel and fill in your hotel ID | Settings → Integrations, category Channels |
| The step in your channel's extranet | For Booking.com: Account → Connectivity provider → choose Channex and accept the agreement. Only the owner can do this (with an SMS code). | Your channel's extranet |
| Check the room mapping | In your channel's window, choose the channel's room next to each BedFlow room, switch the toggle on and save | Settings → Integrations, your channel tile |
| First booking in | Your first real booking | Happens by itself |
More on each step: Importing, Connecting Booking.com and Airbnb.
The bar at the top of every screen
If your trial has ended and your step-by-step plan isn't finished yet, a blue bar appears at the top of every screen:
- Your setup is … of … steps complete., with the next step shown.
- Book an onboarding call (free, 30 min): you pick a time yourself and we go through what's still open together.
- Continue setup: takes you to the next step.
You don't see this bar during your trial: the button for the call is then already in your trial bar. As soon as all the required steps are done, the bar disappears.
Frequently asked questions
Do I really have to do the steps in this order? No, you can click any step. But the order saves you time: if you start with Stripe before there are rooms and rates, you can't test anything yet.
I don't rent through Booking.com or Airbnb. Will Getting started stay in the menu? The channel steps count as required steps. Without a channel, the menu item therefore stays, with your progress next to it. That doesn't affect anything else in BedFlow.
Coming from another system? Bring in your existing bookings via Management → Import (iCal, CSV or Excel, MyTourist, Hostaway), so your calendar is right straight away. See Importing. Switching to BedFlow is free.
I'm stuck. Click the lifebuoy icon at the top and create a ticket, or book an onboarding call. See How our support works.